
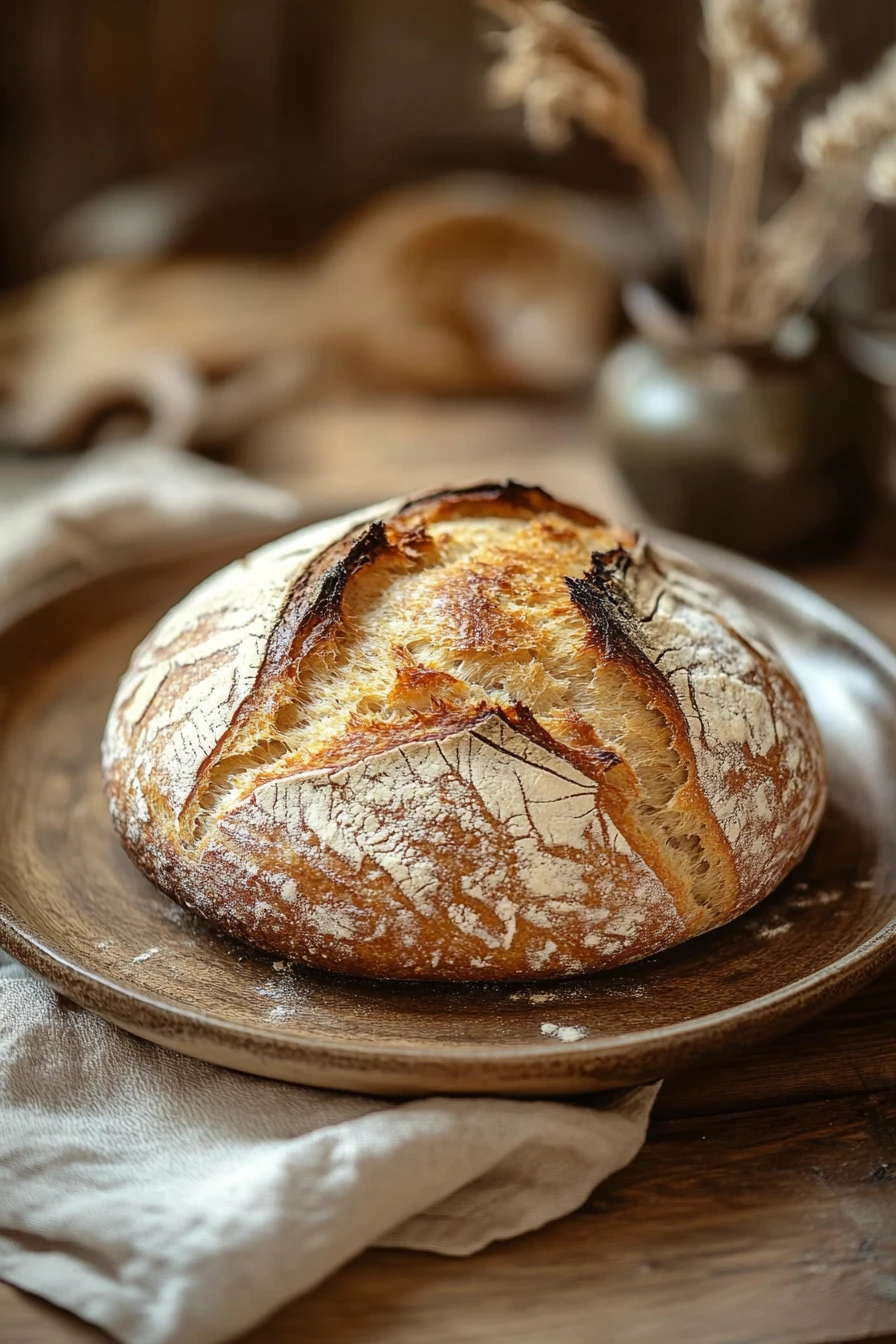

Sometimes, mornings sneak up on you faster than you expect, and all you want is something warm, homemade, and comforting without the fuss. This no knead vegan bread fits perfectly into that moment — it’s simple, requires almost no hands-on time, and fills your kitchen with the kind of smell that pulls you out of bed. Plus, it’s entirely plant-based, so it suits a wide range of diets without making things complicated.
I remember the first time I tried making this bread. I was distracted by a buzzing phone call halfway through mixing the dough, and I think I might have added a touch too much water. The dough was stickier than I expected, but I tossed it into the bowl anyway and covered it. When I checked back hours later, it was bubbly and alive, and the smell that filled the air while it baked was pure magic. The crust crisped just right, and the crumb inside was soft — not too dense, not too airy. I got so caught up in slicing into it that I forgot to toast a slice, which is usually my favorite part.
It’s a kind of bread that doesn’t demand attention but rewards you with real comfort, perfect for spreading your favorite jam or piling on avocado and tomato for a quick lunch.
- Minimal effort: no kneading means less time standing over the counter and more time for yourself.
- Vegan and simple ingredients make it accessible for most diets without any weird substitutes.
- The crust is satisfyingly crisp, but the inside stays soft enough for sandwiches or toast.
- It requires some patience with the rising time — it’s not instant, but that’s part of the charm.
- It’s simple — and that’s kind of the point. No fancy techniques or gadgets needed.
If you’re nervous about the rising times or the sticky dough, don’t worry — it’s more forgiving than it looks. Just cover it well and let it do its thing. The dough is delicate but doesn’t need perfect handling, so you can relax a bit.
PrintNo Knead Vegan Bread
A simple and easy no knead vegan bread recipe that requires minimal effort and yields a crusty, soft loaf perfect for sandwiches or toast.
- Prep Time: 10 minutes
- Cook Time: 45 minutes
- Total Time: 10 minutes
- Yield: 8 slices 1x
Ingredients
3 cups (360 grams) all-purpose flour
1/4 teaspoon (1 gram) instant yeast
1 1/4 teaspoons (7 grams) salt
1 1/2 cups (360 milliliters) warm water
Instructions
In a large mixing bowl, combine the all-purpose flour, instant yeast, and salt. Stir well to mix the dry ingredients evenly.
Add the warm water to the dry ingredients and mix with a wooden spoon or spatula until a sticky dough forms. Ensure all flour is incorporated.
Cover the bowl tightly with plastic wrap or a clean kitchen towel and let the dough rest at room temperature for 12 to 18 hours, until the surface is dotted with bubbles and the dough has doubled in size.
Lightly flour a work surface and turn the dough out onto it. Fold the dough over on itself once or twice to shape it into a rough ball. Do not knead.
Place a clean kitchen towel on the counter and dust it generously with flour. Place the dough seam side down on the towel and dust the top with flour. Cover with another towel and let it rise for 1 to 2 hours, until it has nearly doubled in size.
About 30 minutes before the dough is ready, place a heavy oven-safe pot with a lid (such as a Dutch oven) in the oven and preheat to 450°F (230°C).
Carefully remove the hot pot from the oven. Gently transfer the dough from the towel into the pot, seam side up.
Cover the pot with the lid and bake for 30 minutes.
Remove the lid and bake for an additional 15 minutes, until the bread is golden brown and crusty.
Remove the bread from the pot and let it cool completely on a wire rack before slicing.
For equipment, all you really need is a heavy, oven-safe pot with a lid — something like a Dutch oven works great. I usually bake this bread while I’m doing other things around the house, so it’s nice not to have to babysit the oven constantly. Once it’s out, I like to slice it thick and serve it with a drizzle of olive oil or some hearty vegan butter. Sometimes I add a sprinkle of herbs or garlic powder to the dough before baking, but I haven’t tested all those variations extensively — just bits here and there.
Other times, I’ve tried swapping out some of the all-purpose flour for whole wheat, but the rise isn’t quite the same, so the texture changes a bit. Still tasty, just different. You could also add seeds on top before baking if you want to jazz it up, though I usually keep it plain because that crust is so good on its own.
FAQ
Can I make this bread gluten-free? I haven’t tried it myself, but since it relies on gluten for structure, swapping flours might need some experimentation.
How long can I store it? It’s best eaten within a couple of days at room temperature for that perfect crust, but freezing works well if you want to keep it longer.
Does it always need a Dutch oven? The heavy pot helps create steam for the crust, but you might try baking it on a baking stone with a pan of water to mimic that effect.
Trying this bread is like giving yourself permission to slow down and enjoy something simple but satisfying. If you’re ready to let your oven do the work while you take a break, this no knead vegan bread might just become your new go-to.